Managing the Workgroup Roster
In Causeway, Workgroup Chairs, Workgroup Administrators, and Site Administrators have the ability to manage the rosters of Workgroups they belong to. The roster management tools allow you to add new members, invite new members by sending them an email, and remove members.
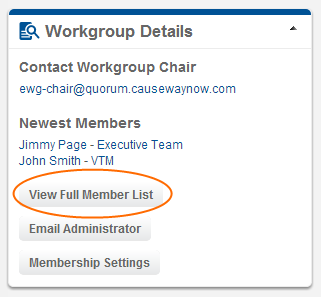
To manage the roster, navigate to the Workgroup's dashboard, locate the "Workgroup Details" widget, and click the "View Full Member List" button.
The Workgroup Roster
This page shows the list of all members in your workgroup, along with their account status, roles and permissions, and settings. The boxes at the top of the table allow you to filter the list. To the right of each member are links to edit their membership or remove them from the group.
Note: you cannot remove your own membership from this page. If you wish to leave the group, you will need to go to the main Workgroups list. For more information, see the Workgroups page in the manual.
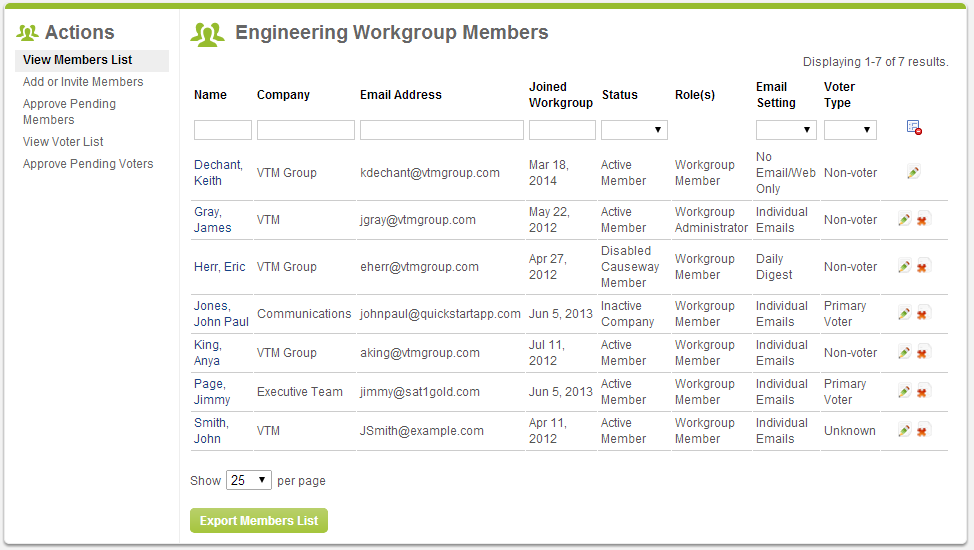
Exporting the Roster
At the bottom of the list is a button to export the members list. This provides the list in Microsoft Excel format, which you can use to import data into other applications.
Adding and Inviting Members
To add new members to the Workgroup, click "Add or Invite Members" in the left-side menu. You will see the Add or Invite Users page.
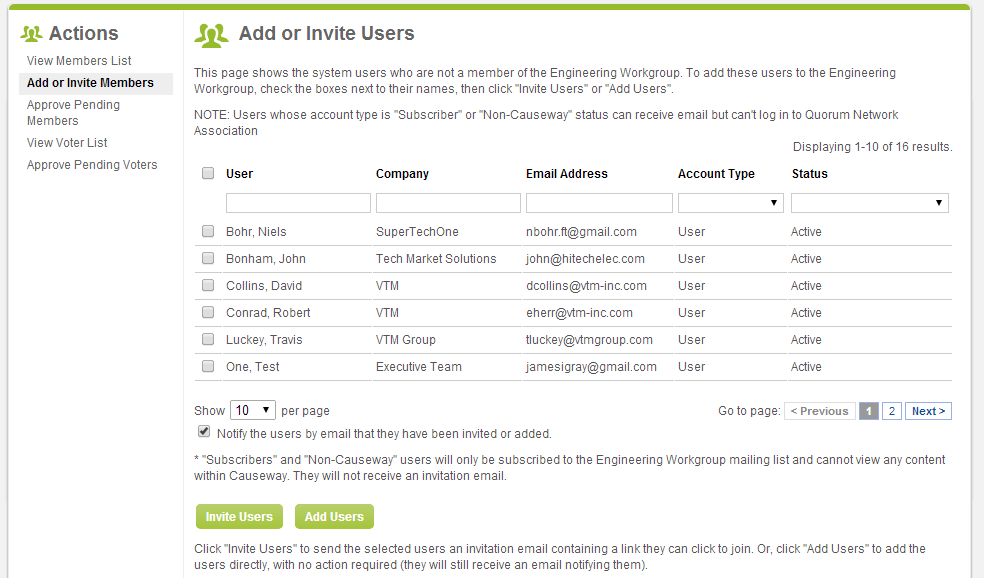
This page shows a list of Causeway users who are not yet members of this group. From here, you may add them or invite them to join.
Note: If a new member does not have a Causeway account yet, he or she will need to register for an account (or be added by a Site Administrator) before he or she will appear in this list.
To add or invite a user, check the boxes next to his/her name, then click "Invite Users" or "Add Users" below.
Adding vs. Inviting
Adding a member immediately makes the member active in the Workgroup, with no action required by the member.
Inviting a member sends an invitation to the member, which he or she must accept before becoming an active member. If your Workgroup is hidden and you invite someone to join, that user will now be able to see the Workgroup in their Workgroups list. If your Workgroup requires approval of new members, sending an invitation to the user is like a pre-approval step; the user will not need to request permission to join.
Email Notification
When you add or invite users to your Workgroup, you have the option to send an email notification to the users. If you do not wish to send this notification, you may uncheck the "Notify the users by email" checkbox before you click "Invite Users" or "Add Users."
Approving Pending Memberships
If your Workgroup is Restricted (requiring approval of new members), you may view the pending membership requests by clicking "Approve Pending Members" in the left-side menu.
The Pending Membership Requests page show a list of all users who have requested to join the Workgroup. To approve or deny a request, click the appropriate option to the right of each user, then click "Submit". If you wish to take no action on a request, do not check one of the options for that user. You will be able to approve or deny the other users.
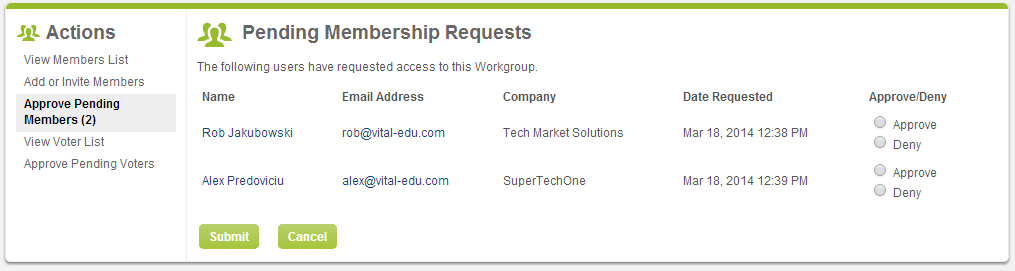
When a user's membership request is approved or denied, he or she will receive an email notification that this has occurred.
Voters List
If your organization uses Official Ballots, where each member company gets one vote regardless of user count, you will be able to view the list of official voters for the Workgroup by clicking "View Voter List" in the left-side menu.
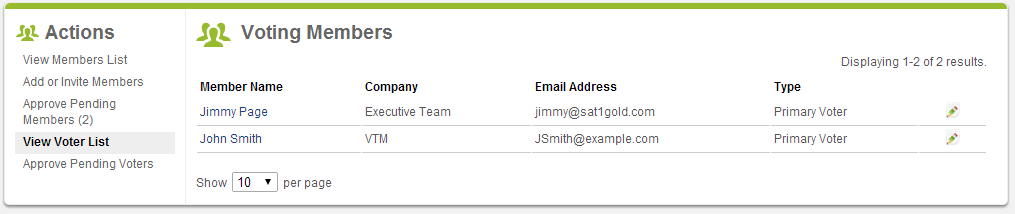
Either a Primary and Alternate voter may cast his/her company's vote on an official ballot. A Primary Voter may edit the vote cast by an Alternate Voter, but an Alternate Voter may not edit the vote cast by a Primary Voter.
Note: This page is not available if your organization does not use Official Ballots, or if your Workgroup does not have the Ballots module enabled.
Approving Voting Requests
If your organization uses Official Ballots, the Workgroup members will need to be assigned voting permissions before they can cast their company's vote. Members can request voting permissions when they join the workgroup, or by editing their own membership settings. When a user requests new voting permissions, this generates a request to the Chairs and Administrators to approve. To see and approve these requests, click "Approve Pending Voters" in the left-side menu.
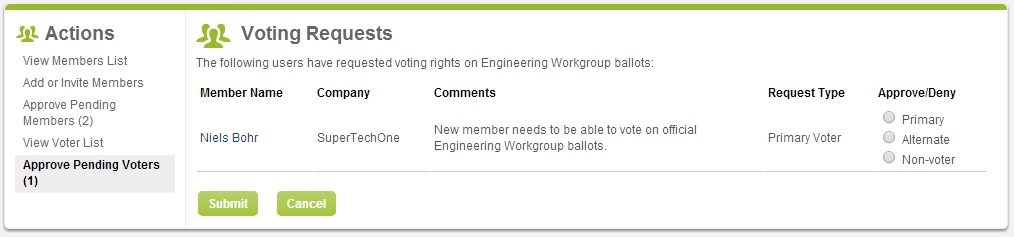
To approve or deny a request, choose the member's new voting permission, then click "Submit." The member's voting status will be changed and the member will receive an email notifying them of this action. If you do not select an option for a particular member, that user's voting permission will not change, and you may come back and review his/her request later.